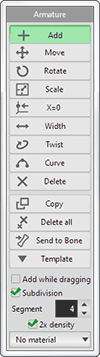
You can create a surface object along a centerline by a simple operation.
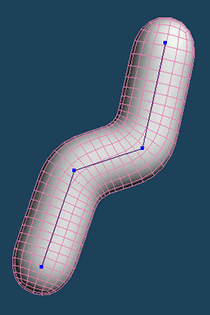
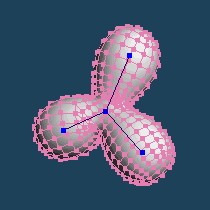
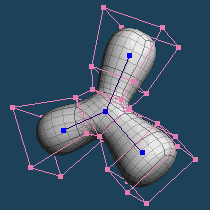
Armature command puts control points (blue points), and you can make a surface object by editing the control points.
And you can create a respective armature for each object.
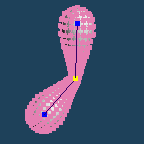
At first,  click on the 3D view and control will be created.
When a control point is dragged, a new control point connected with the dragged point will be created. And you can insert a new point between existing points.
 |
 |
 |
|
 |
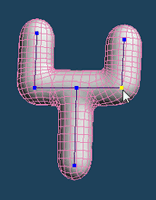
| A point becomes yellow when a mouse cursor is over. | Drag it, and a new point is created. | A branch can be created by dragging additionally. |
You can add points continuously on the dragged path by checking [Add by drag] option.
 |
|
 |
| Original | Add points continuously by dragging. |
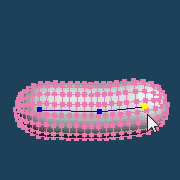
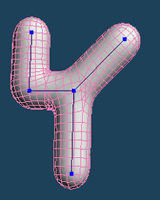
A control point is moved by dragging. You can select multiple points by Shift key or [Rc], [Rp] edit option, and move them together.
 |
|
 |
| Original | A control point is moved and the surrounding surface is also modified. |
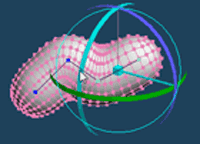
It rotates multiple selected points.
 |
|
 |
| Select multiple points | Rotate by dragging a handle |
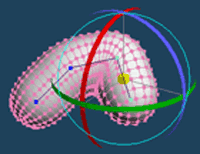
It is to scale the multiple selected control points.
 |
|
 |
| Select multiple points | Drag a handle and scale |
It moves a clicked control point to the X=0 position. The following image describes all control points are moved to X=0.
| In a front view | ||
 |
|
 |
| When control points are clicked, | it moves to X=0 | |
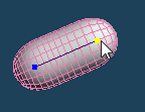
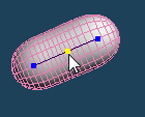
When a control point is dragged, the surrounding surface becomes wide or thin. The surface becomes wide when a mouse is moved to the right, and thin when it moved to the left.
 |
|
 |
|
 |
| Original | Wide by dragging right | Thin by dragging left |
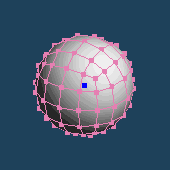
When the [Equal ratio] option is checked, a handle is displayed and a radius can be adjusted along each axis. At this time, distortion is sometimes produced if the [Subdivision] option is checked. Please switch the [Subdivision] option off to get a flat shape.
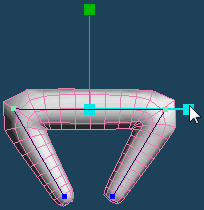
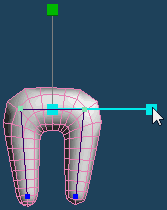
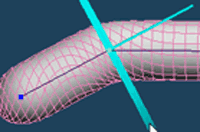
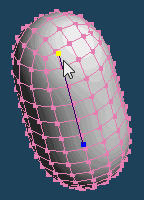
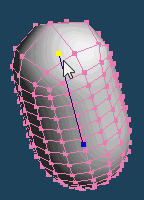
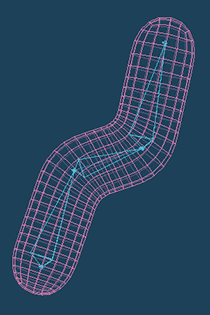
It adjusts the flow of faces by dragging a control point.
 |
|
 |
| Click the middle control point. | Adjust the flow by dragging a handle. |
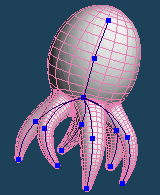
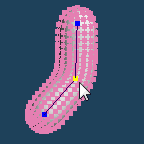
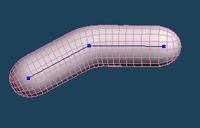
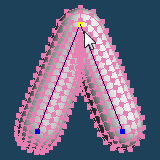
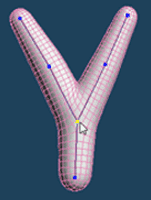
When three or more control points are put, you can make a centerline into a curve between control points by clicking a middle control point.
The root control points cannot be a curve.
 |
|
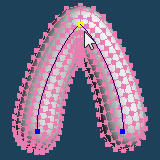 |
| Original | Curve |
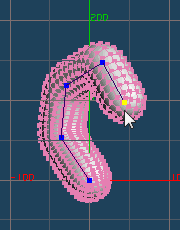
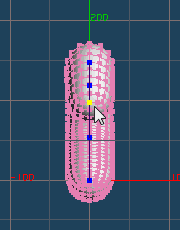
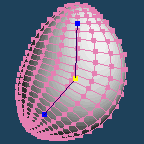
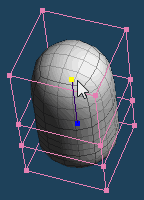
When a cap point of a centerline is clicked, a shape of the cap will be changed.
| Subdivision : ON | ||||
 |
|
 |
|
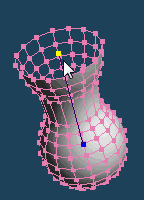 |
| Subdivision : OFF | ||||
 |
|
 |
|
 |
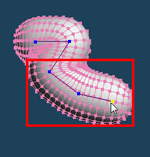
It deletes a clicked control point. When a branch point is clicked, all points under the branch are deleted.
A root control point; the first placed point; cannot be deleted.
 |
|
 |
| Click the yellow point | Only the clicked point is deleted |
 |
|
 |
| Click the yellow branch point | All points under the branch are deleted. |
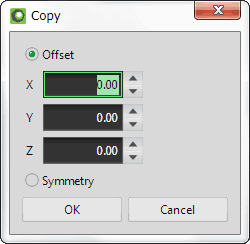
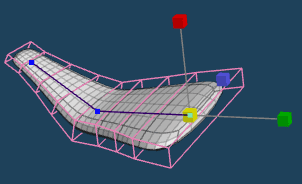
You can replicate the armature.
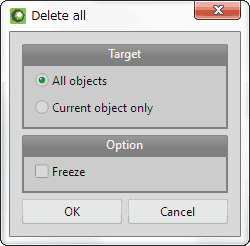
It is to delete all of the armature.
If you check [Freeze], only the control points of the armature are deleted. Curved object will remain.
It sends control points to [Bone]. It can select whether control points are left or deleted.
 |
|
 |
| Before sending | After sending |
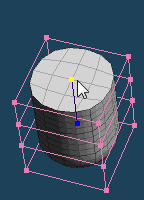
When [Subdivision] check is off, it produces a result same as a patch.
 |
|
 |
| ON | OFF |
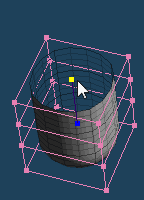
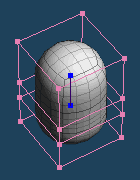
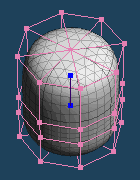
It changes a number of a division for a circumference.
| Segment : 4 | Segment : 8 | ||
| Subdivision ON |
 |
|
 |
| Subdivision OFF |
 |
|
 |