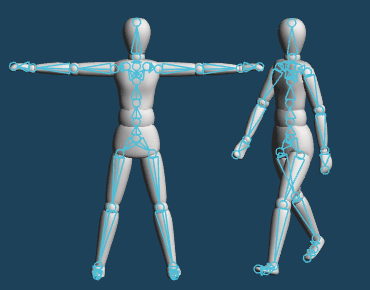
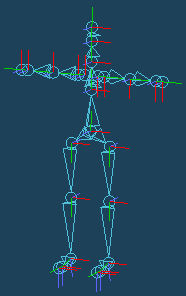
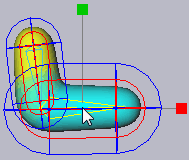
Set up bones inside objects, and deform objects by moving bones.
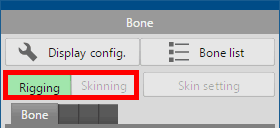
[Bone] has two modes, [Rigging] and [Skinning].
At first, only operations in [Rigging] mode are available.
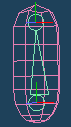
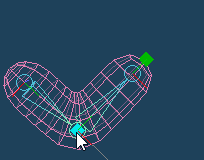
Select [Rigging] first, create bones, and set the position and the direction.
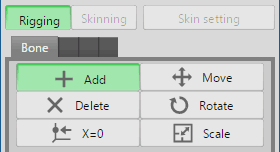
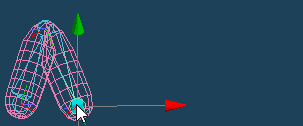
 Click on 3D display and place a node.drag from the placed node, a bone is created.
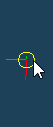 |
 |
 |
| Click and create a node | Create a bone by dragging from a node |
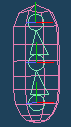
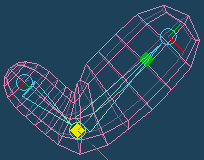
 hold down the left button and right-click near another node to combine this node with another node.click a bone to add a new node at that point. The bones are split.
hold down the left button and right-click near another node to combine this node with another node.
And you can select all nodes from the clicked to ends together by Shift+Ctrl+click.
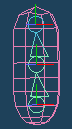
Drag to move the center of the handle.
hold down the left button and right-click near another node to combine this node with another node.click a bone to add a new node at that point. The bones are split.
hold down the left button and right-click near another node to combine this node with another node.
And you can select all nodes from the clicked to ends together by Shift+Ctrl+click.
Drag to move the center of the handle.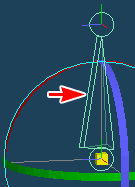 |
| Fin |
| Min | Max | |
|---|---|---|
| X | 0 | 90 |
| Y | 0 | 0 |
| Z | 0 | 0 |
 |
|
 |
| Before rotation | After rotation |
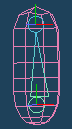
Drag to move the center of the handle.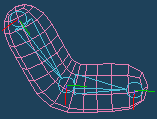 |
 |
| Centering - ON | |
 |
 |
| Centering - OFF | |
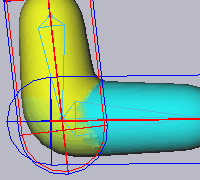
You can use a template instead of creating bones from scratch.
 |
 |
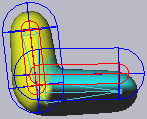
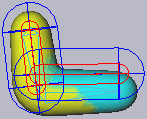
| Multi Color | Color map |
Bind a skin object to the bone by [Skin setting] button after setting up bones.
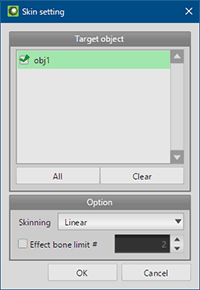
Select objects in the list and push [OK]. Weight values are added to the objects, and the object will be moved together with bones.
If you deselected objects and push [OK], weight added to the object is released.
After unbinding a skin and bind it again, the previous weight will be reproduced as possible. If the reproduced weight is not desired, please push [Reset weight] button in [Paint].
 |
 |
| Liner | Dual quaternion |
In [Rigging] mode, you can add and adjust bones after binding skins.
After binding skins, newly added bone can be set weight automatically when you press [Skinning] button. If you don't select the automatic setting, you need set weight by [Paint] or [Anchor].
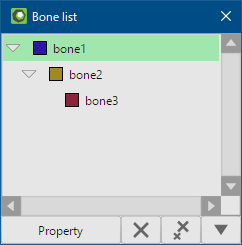
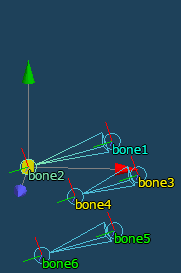
Created bones are displayed in a list.
 Delete
 Delete all
 |
|
 |
| Click and select a bone | Divide by one node |
 |
|
 |
| Shift+Click and select any bones |
Combine to one |
 |
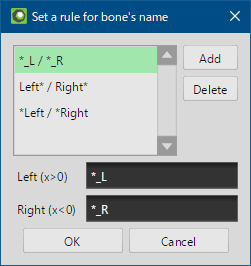
| Name the bones according to the naming rule. |
 |
 |
| Frozen bones are automatically named according to the rule. |
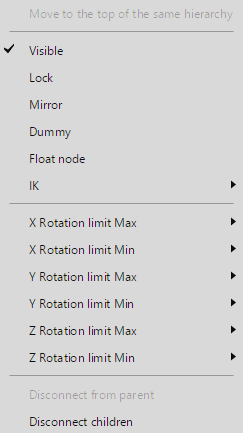
 right-click the name of bone on the list, you can open the menu.
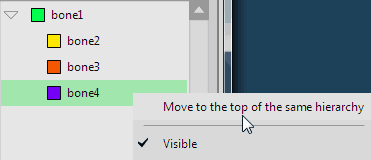 |
| Select bone4 and Move |
|
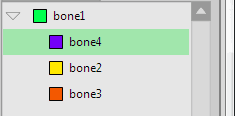 |
| List items are sorted. |
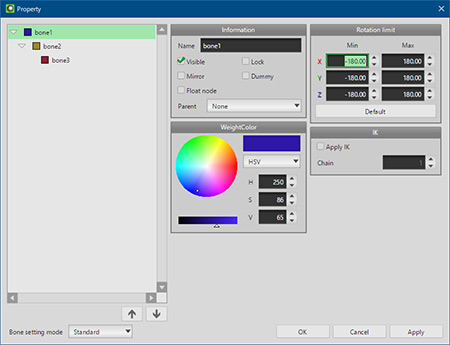
Settings of a bone selected in [Bone list] can be changed in [Property] dialog.
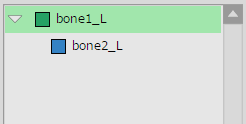
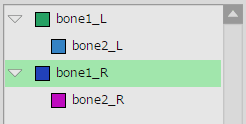
 click [Freeze] in bone list, a mirror of the node is added to list as a real node.
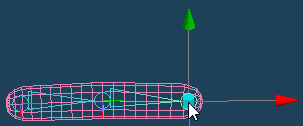 |
| Set IK to a child node |
|
 |
| The node is moved, a parent node is moved together |
The following items can be set only in the [For PMD] mode.
 |
|
 |
| Set bone1 as the link source of bone3 and bone5. |
Multiple bones link and move by moving bone1 or bone2 |
*Notes for the PMD file export
In PMD format, single parent bone cannot have more than one child bone. (Dummy bones are excluded.) If there are multiple children bones at the same level, the weight is held only the bone located at the top on the bone list. Other children bones are treated as a dummy.
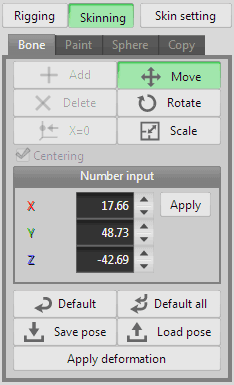
After binding a skin, you can pose the object by deforming bones in [Skinning > Bone] mode. And you can save and load the pose.
*In [Skinning > Bone] mode, [Add], [Delete] and [X=0] are not available.
dragging a node.
 |
|
 |
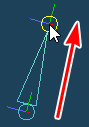
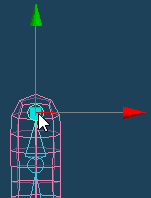
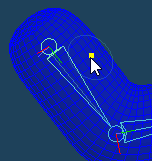
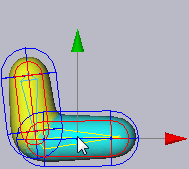
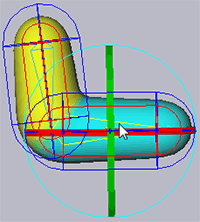
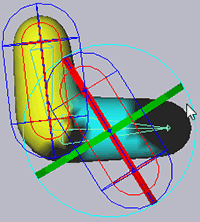
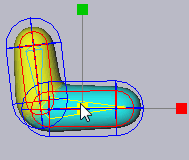
| Select a bone | Move the endpoint |
 |
|
 |
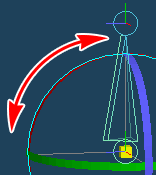
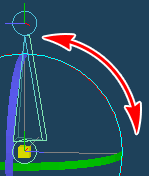
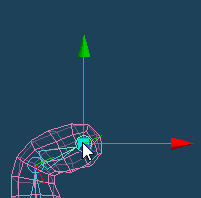
| Select a bone | Rotate by dragging a handle |
 |
|
 |
| Select a bone | Scale by dragging |
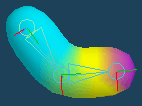
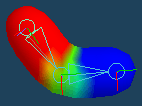
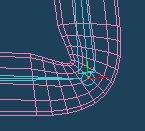
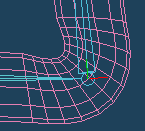
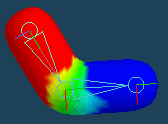
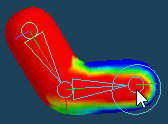
In [Paint], you can manually adjust a weight; the influence of a bone to a skin object.
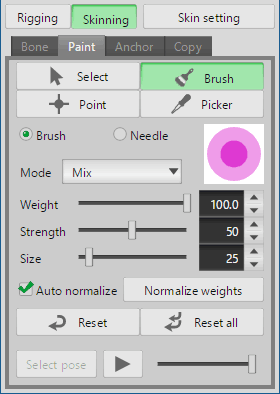
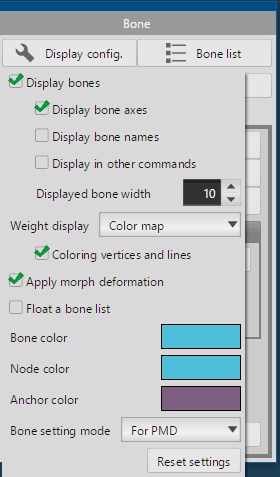
Weight values of bones are displayed by color on a skin object. Method of the display can be changed in [Skin setting].
|
|
| Multi Color | Color map |
click in other modes.dragging and adjust the weight.
 |
|
 |
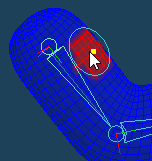
| Original | Drag by [Mix] brush |
 |
|
 |
| Click a vertex | and assign weights around vertex. |
clicked vertex is applied to the brush.If the weight assigned by auto setting is not suitable, you can set the weight to skins again by [Anchor].
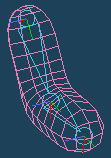
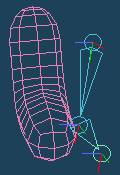
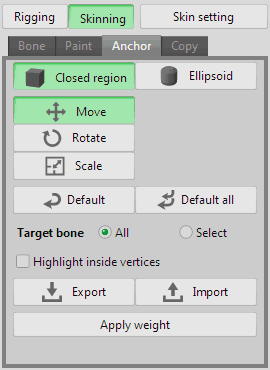
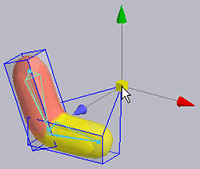
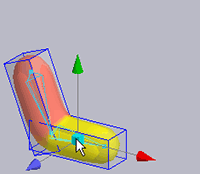
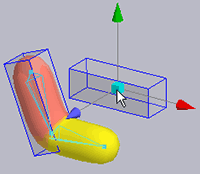
In [Closed region], objects are set as anchor to each bone. You adjust shape and position, size of them, and click [Apply weight] button. The inside of anchor object is set as region of weight.
 click with pressing shift key.
 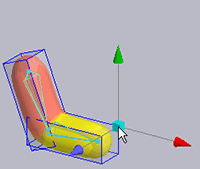 |
|
 |
| Click and select a vertex | Drag and move |
 |
|
 |
| Click a bone with pressing Ctrl key |
Drag and move an anchor object |
 click [Apply weight] button, the set weight is applied. If you don't click this button, the setting is not applied.
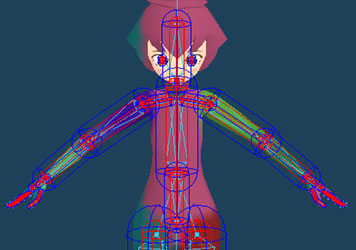
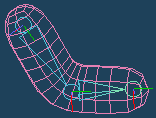
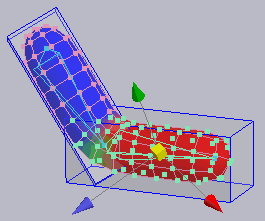
In [Ellipsoid], a range which a bone is affected is displayed as an ellipsoid. If you click [Apply weight] after you adjusted position and size of ellipsoids, the inside of this ellipsoid is set the range of weight of the bone.
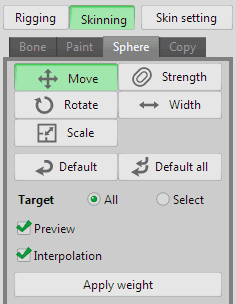
 |
|
 |
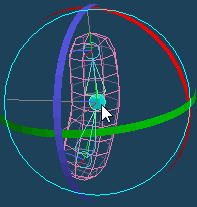
| Select the bone | Drag to move |
 |
|
 |
| Select the bone | Drag handle to rotate |
 |
|
 |
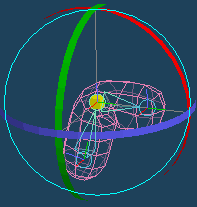
| Select the bone | Drag to scale |
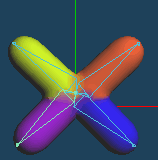
 |
 |
| Left bone is stronger | Right bone is stronger |
 |
|
 |
| Select the bone | Drag to extend the width |
 |
 |
| Without interpolation | With interpolation |
click [Apply weight] button, the set weight is applied. If you don't click this button, the setting is not applied.
In [Copy], you can copy or import/export your setting of weight.
 |
|
 |
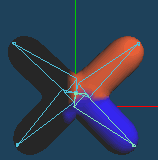
| Setting weight to only right | Copying weight with [Positive to negative] of [X] axis |
|
||
| Set weight to left object | Transcribe it to right object |