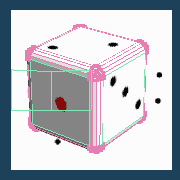
It operates the UV axis on the atlas.
Usually, please edit the UV axis manually after assigning UV value by using [Mapping] command or [Auto unwrap].
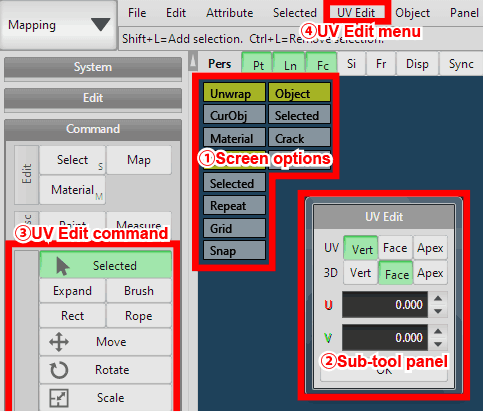
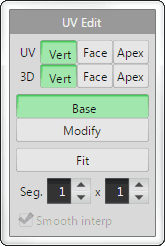
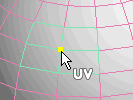
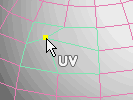
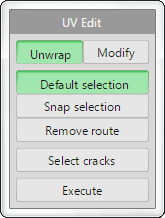
[UV Edit menu] can be displayed in Sub-tool panel by [Config] of UV Edit menu.
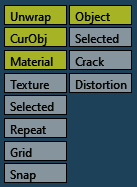

It specifies how to operate on the UV atlas.
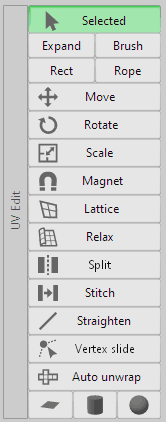
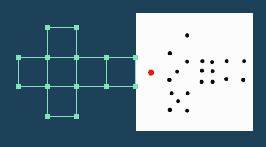
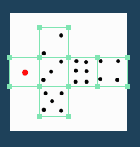
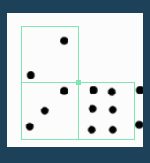
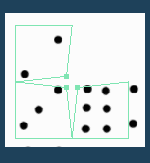
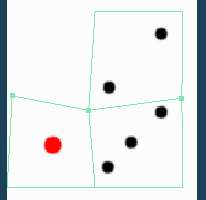
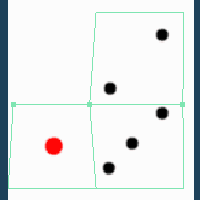
You can select vertices on the UV atlas with a rectangle or a rope when you press [Rect] or [Rope] in Edit option.
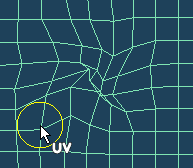
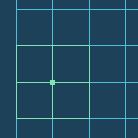
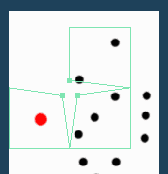
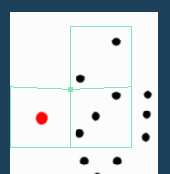
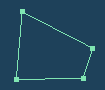
Moving UV vertices continuously within the distance from the position of the UV vertex specified on the UV atlas. You can extend the range of magnet applied with Alt +  Drag.
Drag.
 |
 |
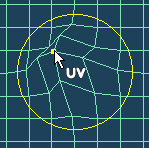 |
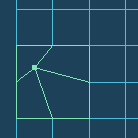
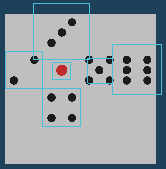
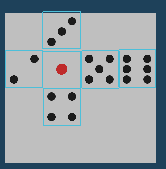
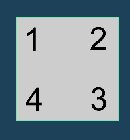
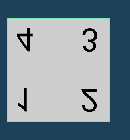
| Select vertex and drag | Moving vertices inside yellow circle |
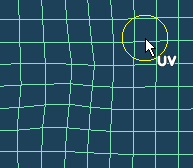
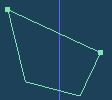
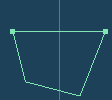
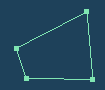
To modify selected vertices on UV map along the grid.
 Drag the corner of the grid and deform it, the selected vertices inside the grid is moved in relation.
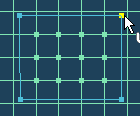 |
|
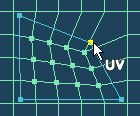 |
| Drag corner of the grid | Moving vertices in relation |
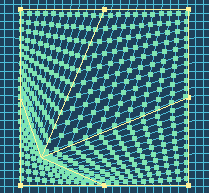
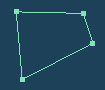
When [Smooth interp.] is checked, deformation becomes more curvilinear and smooth.
*This option can be switched when the segment number of the lattice are 1 or more.
 |
 |
| Interpolation OFF | Interpolation ON |
On UV map, drag the part is automatically adjusted. If you checked [Fix borders], borders of UV map are fixed.
 |
|
 |
| Drag UV map | Solve the entanglement |
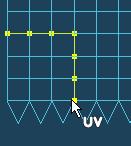
Disconnect the UV unwrap image along the selected two vertices. You can select vertices continuously with Shift + click.
 |
|
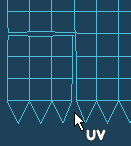 |
| Select two points | To split UV map |
When you click UV borders, if there is a corresponding side, UV map is combined. With Shift + click, all of the continuous lines are combined.
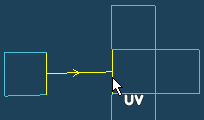 |
|
 |
| Click UV border | To combine UV map |
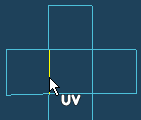
It aligns the selected vertices on a straight line. If you checked [Border only], you can select only vertices on UV border.
 |
|
 |
| Select vertices | To align on a straight line |
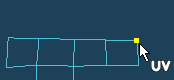
Moving the vertices on the object while maintaining the UV deployment.
 |
|
 |
 |
 |
|
| Select vertex on the object | Drag to move |
Do the automatic unwrapping from 3D object to UV. [Detail]
You can newly assign UV coordinate to selected faces by the following projection methods.
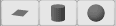
 - Plane mapping
 - Cylinder mapping
 - Sphere mapping
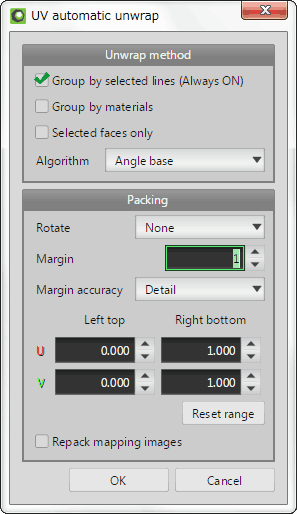
Select some lines and do the automatic unwrapping them as the boundary lines.
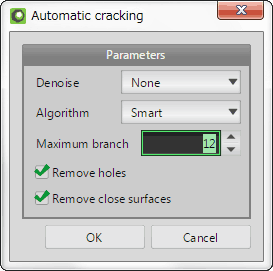
Select lines on the object, and press [Execute] button. The following dialog appears.
 |
 |
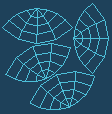 |
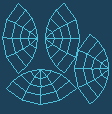
| None | Every 90 degree | Free rotation |
If you press [OK], automatic unwrap is applied.
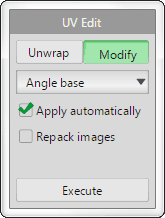
To adjusts UV mapping automatically.
If you select and move two or more vertices you want to modify, other vertices are automatically re-deployment.
[UV edit] menu is shown on a menu bar or a sub panel depends on the [Use menus] setting in the [Config].
 |
|
 |
 |
 |
|
|
||
 |
 |
|
| Faces of the same size on the object are resized evenly on UV development. |
||
 |
|
 |
 |
|
 |
 |
|
 |
 |
|
 |
 |
|
 |
 |
|
 |
| Flip U | ||
|
|
 |
| Flip V | ||
 |
|
 |
 |
|
 |
 |
|
 |
 |
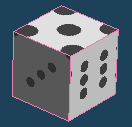
| A stored image |
 |
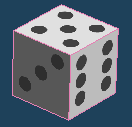
| Edited UV |
 |
| Repacked images |